Start with a joint you can inspect
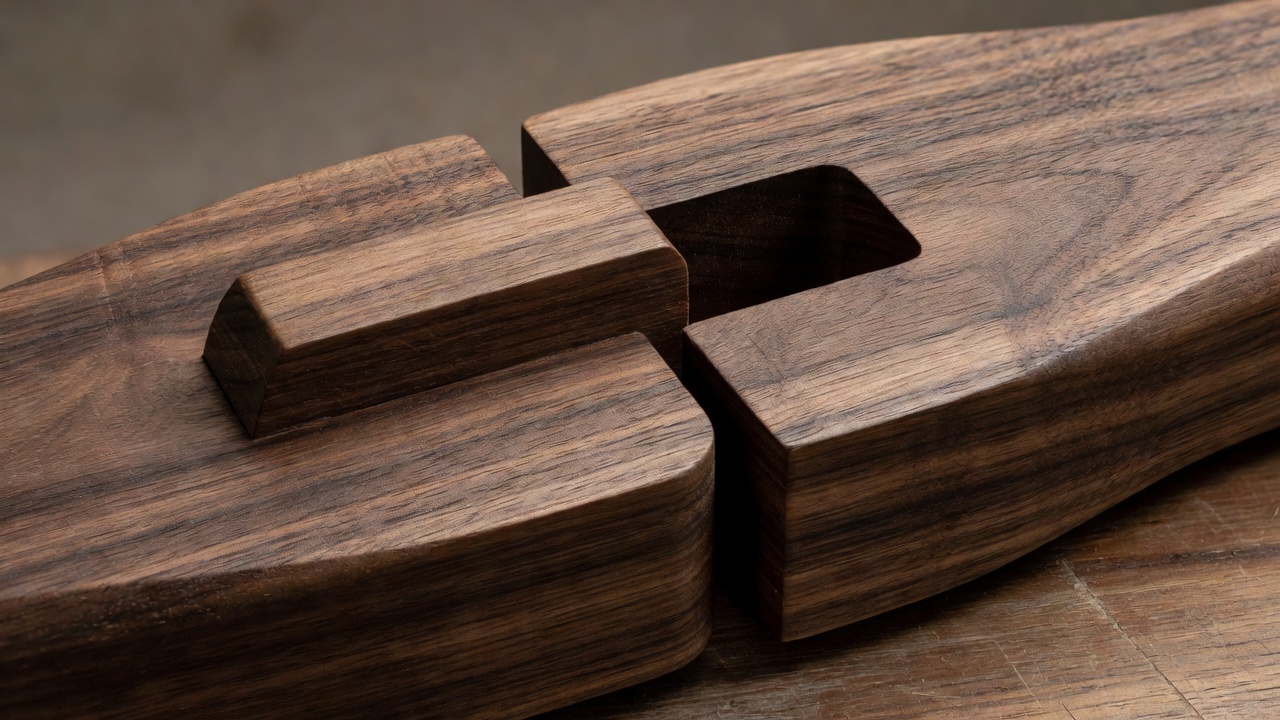
Use two straight strips of equal width and thickness. Each receives a central notch approximately half its thickness deep. The notch in one strip faces up; the other faces down. When they meet at right angles, the two outer faces should be approximately flush. This is a half-lap cross: it comes apart by lifting, so it lets you study contact without hiding the cause of a jam.
A useful practice size is two strips about 100 mm long, 20 mm wide and 10 mm thick. These are suggested starting dimensions, not a specification for every material. Measure the actual stock instead of trusting its label. If a strip is thicker at one end, choose more consistent stock before trying to correct the joint.
Make the paper version first
Stack layers of card to represent the thickness, then cut away the central overlap in each piece. Label the pieces A and B and mark their top faces. Place them together without adhesive. You are checking whether the notches are on opposite faces and whether the shoulders meet in the intended orientation. Card is forgiving, but a crushed edge is not proof of a correct wooden fit.
| Feature | Starting reference | Check |
|---|---|---|
| Strip length | About 100 mm | Enough length to hold safely |
| Notch width | Actual width of the mating strip | Test on an offcut |
| Notch depth | Half the measured thickness | Combined depths match the overlap |
| Moving clearance | Established by the scrap test | No forcing or visible rocking |
Build one controlled fit
- Mark from one reference face.Draw a centre line on both strips. Use the mating piece to transfer its actual width, keeping the reference face consistent. A repeated marking error matters more than a beautifully dark pencil line.
- Remove waste conservatively.Use a method appropriate to your tools and skill. Leave a small amount for controlled fitting rather than cutting past the marked shoulder. Never put your fingers in the cutting path.
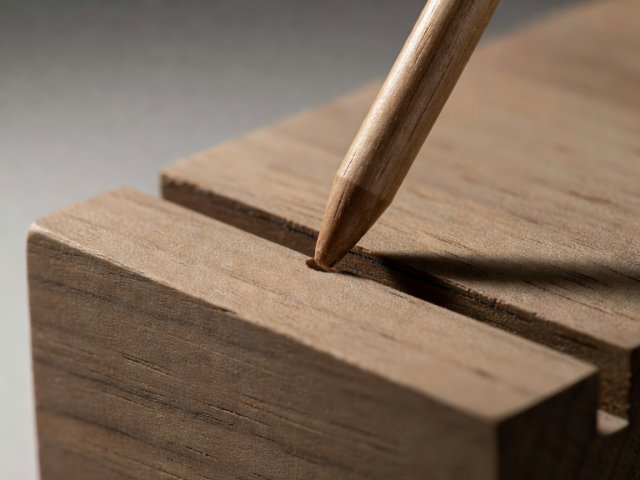
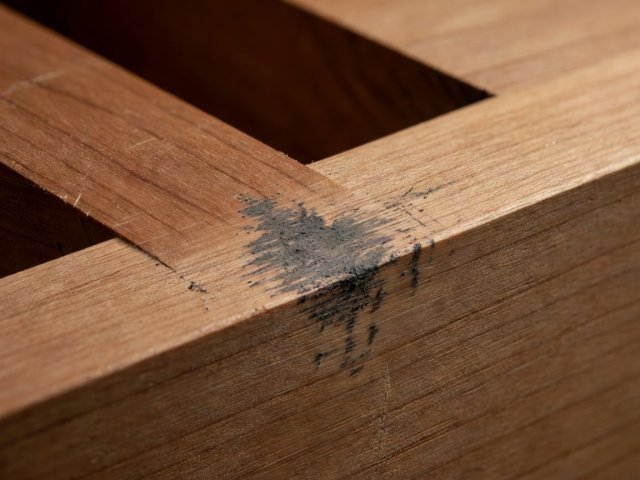
- Test without pushing.Bring the pieces together squarely. Stop at the first resistance. Rub a soft pencil lightly on a suspected contact face, then look for transferred marks on the other piece.
- Adjust the high point.Use a flat sanding block or a suitable file, keeping the face square. Make a few strokes, clear the dust and test again. Do not round every edge in the hope that something improves.
- Repeat the same assembly.Try the joint in the marked orientation several times. Then reverse it deliberately. A change in behaviour helps expose a tapered notch or an uneven strip.
Read the resistance
A joint that enters and then sticks may have a tapered notch. A joint that closes but leaves one piece proud may have an insufficient notch depth or debris on the floor. A joint that rocks can have an uneven floor, excessive width or a shoulder cut out of square. These faults feel similar in the hand; examine the geometry before choosing a correction.
What if I have already removed too much?
Use a thin, removable card shim to diagnose the missing support. For a permanent repair, a fitted wood insert may help, but a fresh practice piece often teaches more. Record the mistake so the next notch starts with a smaller adjustment.
Let the finish join the experiment
Wood changes with moisture, and coatings change dimensions and friction. Keep the trial pieces in the place where the finished puzzle will normally live before making the final fit. Test your intended finish on matching offcuts, follow its ventilation and curing instructions, and check the movement only after it has cured as directed. Avoid treating an untested lubricant as a repair for poor geometry.
Once the cross fits reliably, sketch a third piece and trace its assembly path on paper. Interlocking burr puzzles add blocked movements and carefully arranged notches; they are not simply tight joints. Stewart Coffin’s The Puzzling World of Polyhedral Dissections is useful background for understanding how shapes and assembly sequences interact. Study the principle without assuming that any two notched sticks form a proven puzzle.
A reliable fit is one you can repeat and explain, not one you can persuade into place.
Record the stock, notch dimensions, finish and the last surface adjusted. Keep one successful scrap pair as a reference. It will be more useful beside the next build than a remembered impression that the fit was “about right.”
Use that fit in a concealed catch